Showing posts with label DIY. Show all posts

Thursday, April 26, 2012

DIY Detachable Studded Glitter Collar

So I eyed this post on rookiemag awhile ago on how to DIY decorate a detachable collar, and I've FINALLY gotten around to it. I tried the one under the section labeled "glitter patterns" because I basically eat glitter. Mmmm, glitter.

So here's the collar I cut off:
From an old collared shirt from the GAP!

And here are the materials I used:
I also added a darker blue glitter, not shown in the picture.
The fabric paint I used was Mod Podge for Fabric.  To paint on the glitter, I did what rookiemag said and mixed the fabric paint and glitter together, then slapped that onto the collar. At first, I started with a foam brush (in the picture), then moved to an old makeup brush I had. The foam brush just adsorbed all the glue and was hard to work with. I did waaaay more than the 3 coats rookiemag recommended - I didn't want much of the white color of the collar to show through.  After letting the collar dry for 24 hours, I added studs.

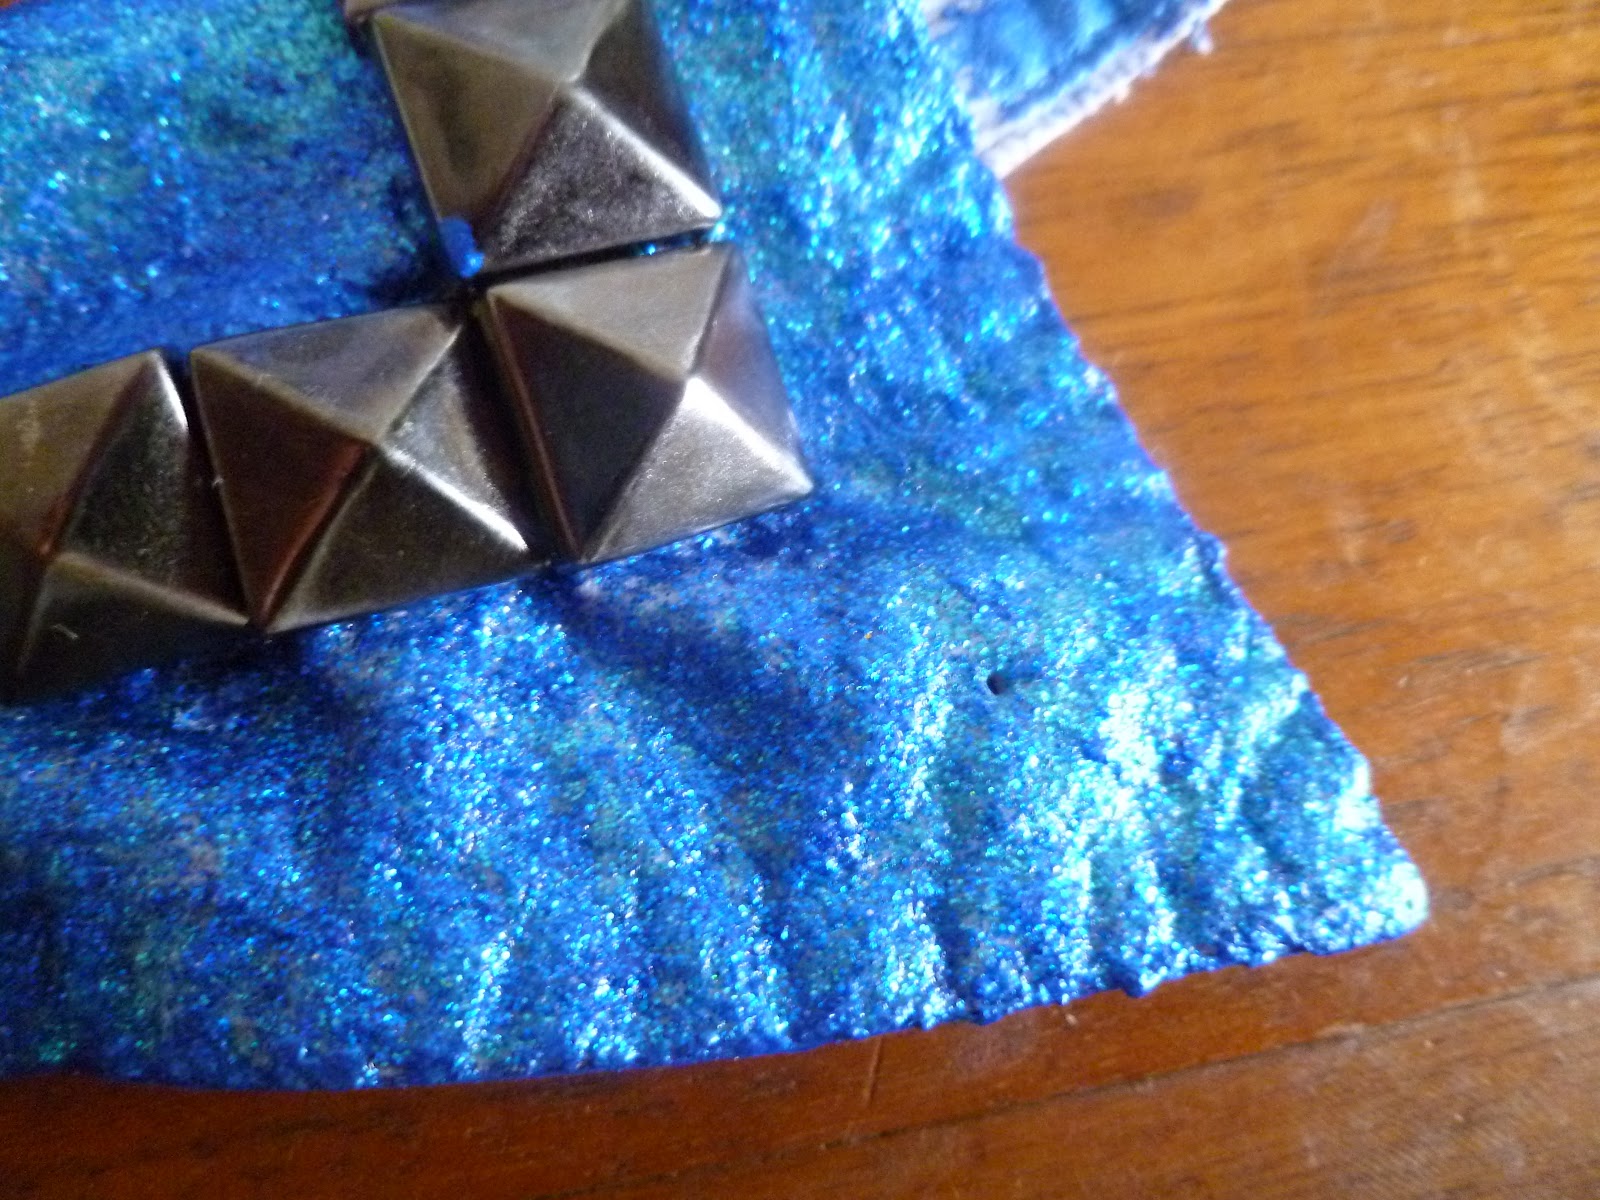
Here is the finished collar:
Whee!! So shiny! Sorry for the blurriness.
Are you ready for your close up, collar?!
The glitter actually came out a lot more matte than I would have preferred. I think this is because the Mod Podge Fabric paint that inevitably sits on top of the glitter isn't shiny. To get a very glittery look, I would recommend brushing glue onto the collar first and THEN sprinkling lots of glitter on top rather than mixing the glitter and fabric paint together. However, be warned, the glitter is more likely to fall off this way. An alternative might be to use Mod Podge Gloss paint rather than the Fabric version.

Here are pictures of the detachable collar being worn!
I feel so studly.
Don't touch my neck, I'll kill you!

Side view
On my lap.
I am undone! Or at least... the collar is unbuttoned.

The gold-rose spikes are pin-ons connected with chains that I got from ASOS, similar to this. I like wearing 'em with the detachable collar because then I can leave the collar unbuttoned, like in the last picture.

Lessons learned:
*Foam brushes are horrible for fabric glue. I guess I should have seen that one coming.
*Let glue dry between layers, or you'll get some glitter clumping.
*If you don't want the original color of the collar to show through, you'll have to put on a ton of layers or paint it with an acrylic first.
*If you want a super glittery collar, put the glue down first then sprinkle on the glitter, or use a glossy fabric paint.
*Don't forget painting the part around the button.

If you don't want to DIY a studded/spiky accessory yourself, I don't blame you. It did take a few hours to do. DON'T FRET, my pet. There are some really cool neck accessories out there, already done for you. Here are some of my favorites from Harlett:
A little touch of badass. Available here.
I love the geometry of this. Available here.
The spikes are perfectly placed! Available here.

If you buy anything from karmaloop, you can use rep code: PRILLAMON for an extra 20% off! Yes, I'm serious. Pretty sweet deal.

Let me know if you have any questions, are going to try this yourself, or buying something similar!

Tuesday, January 31, 2012

Check out ideeli and DIY your own waxed denim

If you didn't get the memo, colored jeans are in again this spring. Lucky for you, since they were in last spring you can get some pretty good deals on colored denim!

As usual, ideeli has some pretty awesome denim deals in their "denim divas" section.
All R.E.U.S.E. jeans, $39.99 at ideeli's "denim divas" section

If you don't know about R.E.U.S.E. jeans, they are an eco-friendly brand that use 80% recycled denim to make their jeans. That's right, you can feel good about supporting a brand with a moral conscience, unlike Apple and Foxconn. Check out the R.E.U.S.E. website sometime for more information about their commitment to sustainability.

In the same vein as colored jeans, waxed colored jeans are also super on-trend for the spring.
Lorna Buford, raindropsofsapphire.com in J Brand Coated Red Jeans

Of course, instead of spending a bank-breaking $270 on wax coated jeans, you can coat a pair of the $40 colored skinnies from ideeli with Otter Wax pretty easily! You can find an easy DIY video for coating jeans with Otter Wax on the-coveted.

If colored and/or waxed jeans are not your denim cup-of-tea, you should still check out ideeli's "denim divas" sale - they have 7 for All Mankind, Blue Lab reversible denim, Not Your Daughter's Jeans, as well as many other really awesome brands.

They also have this awesome BB Dakota sequin dress on sale too:

so just check out the sample sale already! If you don't yet have an "invite" (fancy way of saying I referred you), use mine: www.ideeli.com/invite/prillamon.

Tuesday, August 16, 2011

Back from vacation with an outfit post

Hi everyone! Sorry I haven't posted in awhile - I was on vacation and didn't really have internet connection. It's very sad; I had internet withdrawal symptoms (basically, I was a grumpy b*tch without internet)! Who knew I was addicted to the internet?!?!

I will post more on my FABulous trip (yes, even without internet) to France and Italy later, but for now I'll do a DIY outfit post.

So, first let me start by saying I really REALLY love this Rebecca Minkoff Rumi Dress:
Isn't it just beautiful? I love the draping of the skirt! Image cred: shopbop and coturesnob

so much so that I almost bought it - until the price went up to almost $400 (originally the price was around $325). Since that is wayyyy too much for my college student budget, I decided to make the skirt portion of the dress myself!

I bought this skirt on eBay for about $15, including shipping.
A bit too bridal party for normal wear.

It's a skirt from David's Bridal, in a champagne color. There are 3 layers to the skirt, 1 mesh layer and 2 lining layers:
All 3 layers.

The 2 lining layers.

The skirt is an A-line skirt with a rounded hem. I decided to use one of the lining layers to make my Rebecca Minkoff-like skirt. I had to remove the top band to separate the layers. Here is what one of the lining layers looks like separated from the rest of the skirt:

One of the lining layers - this was used to make my skirt!

To make the skirt, I obviously need to cut the front short and keep the back long. I wish I could tell you a fool-proof way to do this, but it was honestly trial and error on my part. I definitely ruined one of the two lining layers trying to get this right! In case it helps, here is what the cut looked like on the finished skirt:
The skirt is folded in half. F stands for "front of skirt" and is on the right side of the picture.

From right to left, I would say 3/4 of the skirt is a slow drop from the front of the skirt to the bottom of the skirt, then a cut back up for the last 1/4 to avoid a tail. Also, when resewing the band on the top of the skirt, be careful where you scrunch the skirt as it will determine where the folds of the skirt will be.

And finally, here is what the finished skirt looks like!
Love the drapey folds!

It's no Rebecca Minkoff, but it satisfies my drapey high-low cravings! Honestly, I love it. What do you think?